
Introduction
Creating an effective 'Connect Wallet' flow is a challenging aspect of Web3 development. Thankfully, the team at Thirdweb has developed an excellent SDK, simplifying this process and enabling a superior wallet experience for your users.
Concepts
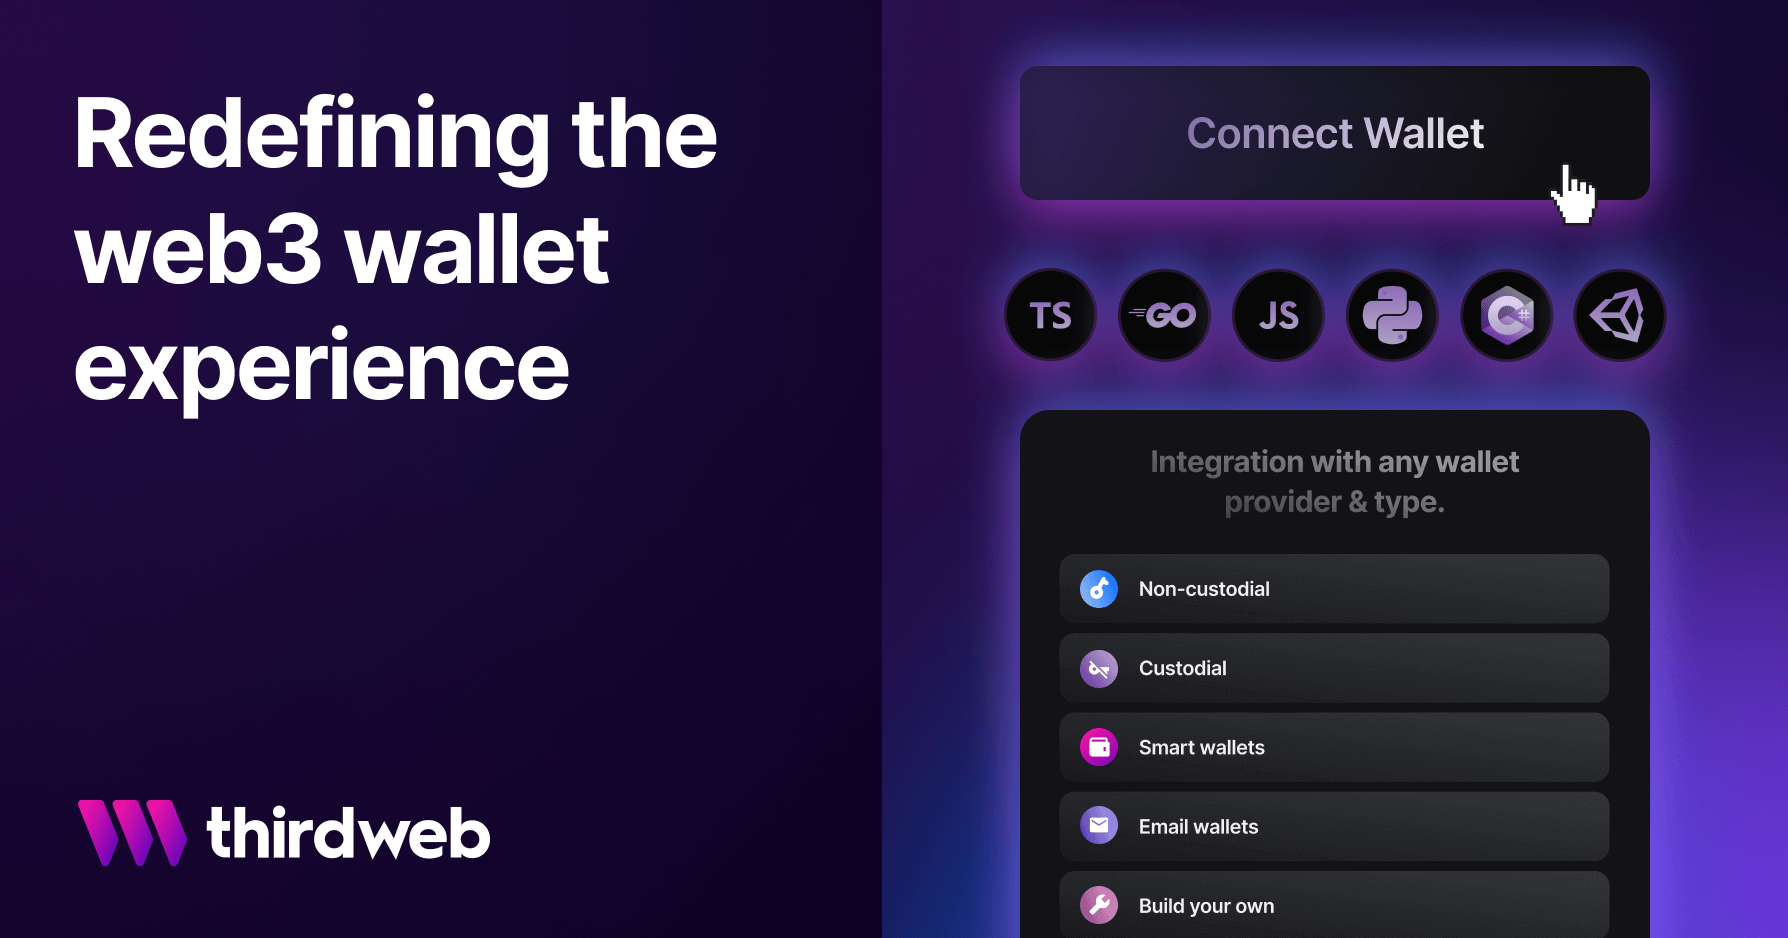
Thirdweb WalletSDK
The WalletSDK is a development kit that grants developers access to a comprehensive selection of wallets, ranging from custodial to MPC to smart contracts. Read more
XMTP Content-Types
Content types are a way to describe the type of content a message contains on XMTP. Out of the box, XMTP's SDKs support one content type: text.
Read more
Thirdweb storage
StorageSDK handles the complexities of decentralized file management for you. No need to worry about fetching from multiple IPFS gateways, handling file and metadata upload formats, etc. Read more
Demo App
This repository demonstrates the implementation of these concepts within a simple chat app.
Learning Objectives:
- Setting up the ConnectWallet button
- Signing in with XMTP
- Loading a conversation
- Sending a message
- Sending a remote attachment
- Receiving attachments
Getting Started
The first step involves creating and configuring the Next.js application.
To generate a new Next.js app, execute the following command in your terminal:
npx create-next-app xmtp-thirdweb

✔ Would you like to use TypeScript with this project? Yes
✔ Would you like to use ESLint with this project? Yes
✔ Would you like to use Tailwind CSS with this project?  Yes
✔ Would you like to use `src/` directory with this project? No
✔ Use App Router (recommended)? Yes
✔ Would you like to customize the default import alias? No
Next, navigate into the newly created directory and install the necessary dependencies for using XMTP and Thirdweb:
npm install @thirdweb-dev/react @thirdweb-dev/sdk @xmtp/xmtp-js xmtp-content-type-remote-attachment
Setting up the ConnectWallet button

Begin by wrapping the app with ThirdwebProvider, then use the ConnectWallet component to establish wallet connectivity.
<ThirdwebProvider activeChain="goerli">
        <Home/>
</ThirdwebProvider>
//Just one line of code to connect to wallet
<ConnectWallet theme="light" />
//After logging in, we can use thirweb hooks to see the wallet
const address = useAddress();
const signer = useSigner();
That's it! Next, proceed with signing in to XMTP.
Signing in with XMTP
 Create a new XMTP instance and register the content types your chat app will utilize.
// Function to initialize the XMTP client
const initXmtp = async function () {
  // Create the XMTP client
  const xmtp = await Client.create(signer, { env: "production" });
  // Register the codecs. AttachmentCodec is for local attachments (<1MB)
  xmtp.registerCodec(new AttachmentCodec());
  //RemoteAttachmentCodec is for remote attachments (>1MB) using thirdweb storage
  xmtp.registerCodec(new RemoteAttachmentCodec());
  //Create or load conversation with Gm bot
  newConversation(xmtp,PEER_ADDRESS);
  // Set the XMTP client in state for later use
  setXmtpConnected(!!xmtp.address);
}
Loading a conversation
In this case we are going to use our GM Bot and we are going to use the XMTP instance for creating the conversation and in case it exists it will bring its message history.
const newConversation = async function (xmtp,addressTo) {
  const conversation = await xmtp.conversations.newConversation(addressTo);
  convRef.current = conversation;
  const messages = await conversation.messages();
  setMessages(messages);
};
Sending a message
Text messages require neither codec nor encryption. They can be sent as they are.
const onSendMessage = async (value) => {
  return convRef.send(value);
};
Small attachments below 1MB can be sent using the AttachmentCodec. The codec will automatically encrypt the attachment and upload it to the XMTP network.
// Function to handle sending a small file attachment
const handleSmallFile = async () => {
  const blob = new Blob([image], { type: "image/png" });
  let imgArray = new Uint8Array(await blob.arrayBuffer());

  const attachment = {
    filename: image.name,
    mimeType: 'image/png',
    data: imgArray
  };
  await convRef.send(attachment, { contentType: ContentTypeAttachment });
};
Send a remote attachment
For large attachments above 1MB, use the RemoteAttachmentCodec. The codec will automatically encrypt the attachment and upload it to the Thirdweb network.
Thirdweb's SDK will upload the image file to IPFS and return the file's URL.
  const uploadUrl = await upload({
    data: [file],
    options: { uploadWithGatewayUrl: true, uploadWithoutDirectory: true },
  });
// Function to handle sending a large file attachment
const handleLargeFile = async (file) => {
  setIsLoading(true);

  setLoadingText("Uploading to ThirdWeb Storage...");
  //Image is uploaded to IPFS and returns the file's URL in `uploadUrl[0]`
  const uploadUrl = await upload({
    data: [file],
    options: { uploadWithGatewayUrl: true, uploadWithoutDirectory: true },
  });
  setLoadingText(uploadUrl[0]);

  const attachment = {
    filename: file.name,
    mimeType: 'image/png',
    data: new TextEncoder().encode(file.name)
  };

  const encryptedAttachment = await RemoteAttachmentCodec.encodeEncrypted(
    attachment,
    new AttachmentCodec()
  );

  const remoteAttachment = {
    url: uploadUrl[0],
    contentDigest: encryptedAttachment.digest,
    salt: encryptedAttachment.salt,
    nonce: encryptedAttachment.nonce,
    secret: encryptedAttachment.secret,
    scheme: "https://",
    filename: attachment.filename,
    contentLength: attachment.data.byteLength,
  };

  setLoadingText("Sending...");
  await convRef.send(remoteAttachment, {
    contentType: ContentTypeRemoteAttachment,
    contentFallback: file.name
  });
};
Receiving attachments
In the parent component, add a listener that will fetch new messages from a stream.
// Function to stream new messages in the conversation
const streamMessages = async () => {
  const newStream = await convRef.current.streamMessages();
  for await (const msg of newStream) {
    const exists = messages.find(m => m.id === msg.id);
    if (!exists) {
      setMessages(prevMessages => {
        const msgsnew = [...prevMessages, msg];
        return msgsnew;
      });
    }
  }
};
streamMessages();
Render these messages in the child component using a Blob for attachments.
if (message.contentType.sameAs(ContentTypeAttachment)) {
  // Handle ContentTypeAttachment
  return objectURL(message.content);
}
// Function to render a local attachment as an image
const objectURL = (attachment) => {
  const blob = new Blob([attachment.data], { type: attachment.mimeType });
  return <img src={URL.createObjectURL(blob)} width={200} className="imageurl" alt={attachment.filename} />;
};
With remote storage, simply point the URL in your HTML.
if (message.contentType.sameAs(ContentTypeRemoteAttachment)) {
  // Handle ContentTypeRemoteAttachment
  return remoteURL(message.content);
}
// Function to render a remote attachment URL as an image
const remoteURL = (attachment) => {
  return <img src={attachment.url} width={200} className="imageurl" alt={attachment.filename} />;
};
That was easy! Now you can send and receive messages with attachments using XMTP and Thirdweb.
Conclusion
Web3 messaging is moving forward a robust set of features and possibilites like any other messaging app, but with the added benefit of being portable and encrypted. Is exciting to be part of this new era of messaging and we hope you can join us in this journey.